New Roof Installation Auckland: Complete Process, Timeline & Cost Factors (2026)
- Home
- New Roof Installation Auckland: Complete Process, Timeline & Cost Factors (2026)

Our Blogs
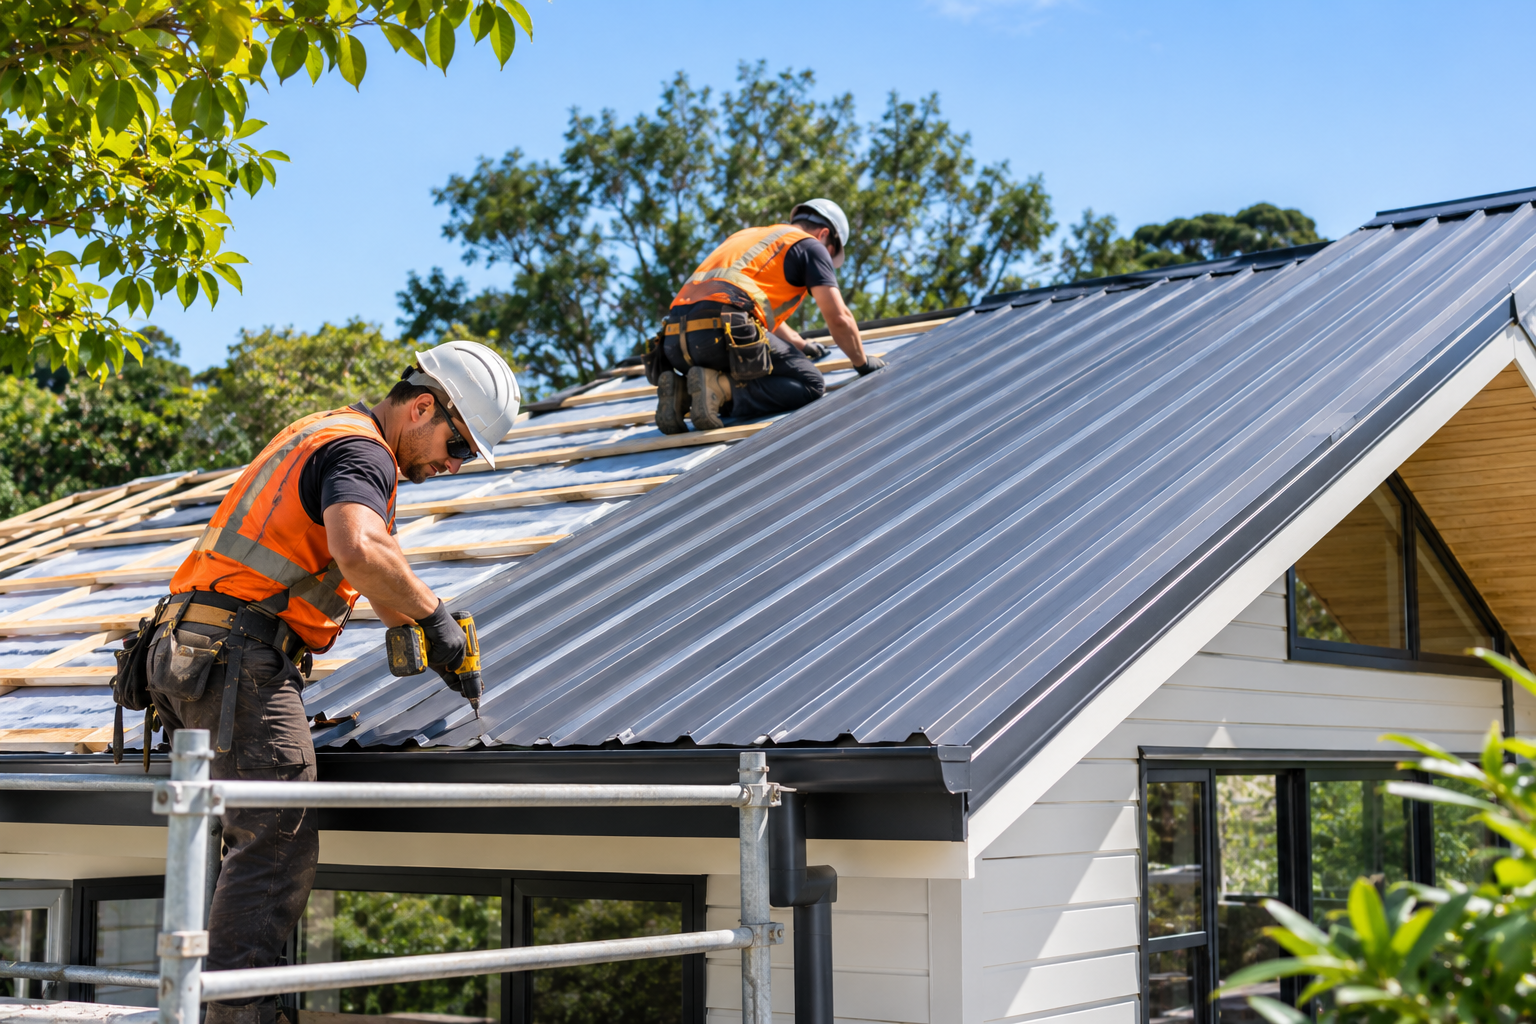
A new roof is one of the biggest decisions in any build or renovation. It protects everything underneath it, it shapes how the house looks from the street, and once it is on, you will not want to redo it for decades. Yet most homeowners go into the process without a clear picture of what actually happens, who does what, how long it takes or what the disruption looks like.
This guide walks through new roof installation Auckland projects from first conversation to final handover. You will see the process step by step, the timeline to expect, the materials available in New Zealand, what drives the price and how to avoid the common mistakes. If you are building a new home, adding an extension or replacing a roof completely, this should give you a clear plan before you speak to a roofer.
People use the term loosely, so it helps to be specific. A new roof installation usually means one of these situations.
A new build. The house frame is up, the trusses or rafters are in place and the roof needs to be installed for the first time.
An extension or addition. A new section of the house needs a roof that ties into the existing one.
A full strip and new roof. The old roofing is removed and a completely new roof system goes onto the structure. This overlaps with roof replacement.
A roof change. You are switching material, pitch or style, for example from heavy tile to lighter metal, which often involves engineering and consent.
Our new roofs service covers installation for new builds and extensions, and our roof replacement service covers stripping and renewing existing roofs.
Here is what typically happens, in order. Individual projects vary, but the sequence is broadly the same.
The roofer visits the site, or reviews the plans for a new build, and talks through what you want. They look at roof shape, pitch, access, surrounding trees, exposure to wind and coast and any special features such as skylights, solar or chimneys. This is the stage to ask questions and explain your priorities.
The roof area is measured, details such as valleys, hips, penetrations and junctions are planned and you choose the roofing material, profile and colour. For new builds, this ties into the architect’s or builder’s plans. A good contractor explains why a particular material suits your property instead of recommending the same product for every job.
You receive a written quote that should list the roofing material, underlay, flashings, fixings, gutters, scaffolding or edge protection, waste removal, timeline and payment terms. It should also say what is not included, so there are no surprises later.
For new builds and extensions, the roof is normally part of the overall building consent. If you are changing material, pitch or structure on an existing home, consent and an engineer’s input may be needed. Your roofer or builder should tell you early what applies to your project, and you can confirm requirements with Auckland Council.
Once the quote is accepted and any consent is in place, materials are ordered and a start date is booked. Lead times depend on the product, whether it is custom cut or colour matched and how busy the supplier and the roofer are. This is often the longest quiet stretch of the project, so allow for it.
Before work begins, the team sets up safe access and edge protection, protects gardens, windows, paths and driveways, and arranges material delivery and storage. Safe work at height is a legal requirement in New Zealand, and it is a good sign when a contractor takes it seriously.
The roof structure is checked before anything goes on top. On a new build, that means confirming trusses, rafters and bracing are complete and correct. On a re-roof or replacement, any damaged timber is repaired or replaced. Fixing a problem now is far easier than after the roofing is down.
Underlay or building paper goes on first, acting as a second barrier against moisture and condensation. Battens are then fixed to support the roofing. Insulation and ventilation details are often handled around this stage, particularly on new builds.
Metal sheets, tiles or membrane are installed according to the manufacturer’s specification, with the correct fixings, laps and fall. Work proceeds in sections and in suitable weather, and a careful team will not leave a section open and exposed if rain is forecast.
This is the detail work that decides whether a roof stays watertight. Flashings go around chimneys, skylights, vents and wall junctions, valleys and ridges are formed and capped and every penetration is sealed. Most leaks in new roofs trace back to poor detailing here, not to the main roofing material.
Gutters, fascia and downpipes are installed or connected, and the roof is checked for drainage. Offcuts, fixings and debris are cleaned up from the site, including gutters and surrounding areas.
The roofer inspects the finished roof and walks you through it. You should receive warranty documents, care guidance and any required paperwork. For consented work, the relevant inspections and sign-offs follow as part of the building process.
There is the time on the roof, and there is the time before it. Both matter for planning.
For a new build or extension, the lead time before work starts can be several weeks, and longer if consent, engineering or specialist materials are involved. For a simpler roof replacement on an existing home, it is often shorter. If you have a deadline, such as a move-in date or the end of a rental, tell your roofer at the start.
Time on site depends on roof size, shape, material and weather.
Auckland’s wet weather can push a job back a day or two. A reliable contractor protects the open roof properly and reschedules instead of rushing in poor conditions. Always ask for a realistic timeline in writing, and ask how weather delays are handled.
Roofing is a visible, noisy job, but it is manageable with some planning.
Noise. Expect hammering, drilling and cutting during working hours, plus delivery trucks and equipment. If you work from home or have a baby or shift worker in the house, mention it beforehand.
Access. Materials need to be delivered and stored on site, and the team needs clear access around the building. Move vehicles, outdoor furniture and anything fragile out of the way.
Mess and debris. A professional team protects the property and cleans up daily and at the end. Still, it is sensible to cover or move belongings in the roof space and under eaves.
Roof space and ceilings. Dust and vibration can drop debris in the ceiling cavity. Cover or clear items stored in the roof space and be aware of light fittings and ceiling fixtures.
Pets and children. Keep both away from the work area, particularly where ladders, scaffolding and materials are present.
Neighbours. It is polite to let neighbours know when work is starting, especially if deliveries or equipment will affect shared driveways or streets.
Staying in the house. In most cases you can stay at home during installation. Plan for noise and a bit of disruption rather than leaving.
Choosing the right material is one of the most important decisions in the whole project. Here is how the main options compare, without getting lost in brand names.
| Material | Weight | Look and style | Maintenance | Notes |
|---|---|---|---|---|
| Corrugated steel | Light | Classic Kiwi look, suits villas and modern builds | Low | Economical and widely used |
| Trapezoidal or ribbed steel | Light | Clean, contemporary lines | Low | Strong water-shedding performance |
| Long-run steel | Light | Continuous sheets with fewer joins | Low | Reduces potential leak points |
| Standing seam metal | Light | Sleek, concealed fixings | Low | Often chosen for architectural homes |
| Concrete tile | Heavy | Traditional appearance | Moderate | Needs stronger framing |
| Clay tile | Heavy | Distinctive, premium look | Moderate | Needs stronger framing |
| Membrane | Light | Flat or low pitch areas | Moderate | Needs careful drainage design |
Metal is a popular choice for new roof installation Auckland projects because it is light, sheds water quickly and suits a wide range of home styles. Coatings and colour options matter, especially near the coast, where corrosion protection is critical. If you want a deeper comparison, our metal roofing contractors in Auckland guide covers profiles, coatings and how metal compares with tile.
Tiles suit certain architectural styles and have a long track record in New Zealand. They are heavy, so the structure must be designed for the load, and they need periodic checks for cracked tiles and ridge pointing.
Flat and low-pitch sections on extensions, garages and some modern designs use membrane systems. Drainage design and detailing around penetrations are essential for long-term performance.
These are not glamorous, but they affect comfort, noise and moisture control. A new roof is the ideal moment to get them right, since the roof is already open and access is easy.
Ask yourself and your roofer:
A good contractor will work through these questions with you instead of pushing one product.
Rather than quoting figures that vary widely from job to job, it is more useful to understand what drives the price of a new roof Auckland cost quote. That way you can read any quote with confidence and compare fairly.
Roof size and shape. A larger roof needs more material and more labour. A complex shape with many hips, valleys, dormers and levels needs more flashing work and time than a simple gable.
Material and profile. Steel, tile and membrane systems price very differently, and within metal, the profile, thickness and coating all matter.
Pitch and height. Steep or multi-storey roofs need more safety equipment, handling and time.
Access and site conditions. Tight sites, sloping sections and limited space for materials add labour and logistics.
Underlay, insulation and ventilation. Higher-spec components cost more up front but affect comfort and long-term performance.
Flashings and penetrations. Chimneys, skylights, vents, solar mounts and wall junctions all add detail work.
Gutters, downpipes and fascia. These may be included or priced separately, so check the scope.
Scaffolding and edge protection. Required for safe work, and a legitimate line item on any proper quote.
Consent, engineering and compliance. Consent fees, engineering input and inspections can add cost and time, particularly when the structure or roof design is changing.
Timing and demand. Peak seasons and busy periods can affect availability and pricing.
The cheapest quote is not always the best value. A very low number often means something is missing, such as lower-grade underlay, fewer fixings, no allowance for repairs or no real guarantee. When you compare quotes, compare scope and quality, not just the total.
For a deeper look at related budgeting, our 2026 Auckland roof replacement cost guide and our article on what it costs to re-roof a house in Auckland explain how pricing is built up.
Requirements depend on the project, so treat this as general guidance and confirm with your roofer, builder and Auckland Council.
A reliable roofer will tell you early whether consent applies, instead of leaving it for later.
If you are not building from scratch, make sure a new roof is actually what you need.
Repair suits localised damage on a roof that is otherwise sound. See our roof repair service for what this covers.
Re-roofing puts a new surface onto a structure that is still healthy. Our re-roofing service explains how it works.
A completely new roof or replacement makes sense when damage is widespread, the structure is compromised or the roof is at the end of its life. Our comparison of roof repair vs replacement for Auckland homeowners can help you decide.
The quality of installation matters as much as the material. Even the right product will leak if it is installed badly. When you compare contractors, look for:
Our guide on how homeowners trust professional residential roofing contractors in Auckland explains what to look for in more detail.
A new roof still needs attention. Regular checks protect your warranty and extend the roof’s life.
Our guide on how often you should inspect your roof in New Zealand explains how to time inspections, and our article on why investing in a new roof adds value to your Auckland home covers the longer-term benefits.
Metal Staff Roofing has more than 25 years of experience installing and maintaining roofs across Auckland. Our licensed roofing specialists look after the whole process, from inspecting the site and discussing materials through to installation, final checks and handover.
What you can expect from us:
We work on both residential roofing and commercial roofing projects, so whether it is a family home or a larger building, our team can help.
Planning a new roof? Request a free quote or call us on +64 2108995040.
How long does a new roof installation take in Auckland?
Time on site is often a few days for small, simple roofs and around a week for a standard home, with larger or more complex roofs taking longer. Planning, consent and material ordering can add several weeks before work starts, and wet weather can cause delays.
What affects the cost of a new roof in Auckland?
Roof size and shape, material and profile, pitch and height, access, underlay and insulation, flashings and penetrations, gutters, scaffolding and any consent or engineering requirements all affect price. A written quote after a site visit is the only way to get a firm figure.
Do I need building consent for a new roof in Auckland?
New builds and extensions normally include the roof in the overall building consent. Changing material, pitch or structure on an existing home can also require consent, as can work on heritage or character properties. Your roofer should confirm this early, and you can check with Auckland Council.
What is the best roofing material for a new home in Auckland?
It depends on the structure, location, style and maintenance preferences. Metal is popular because it is light and low maintenance, while tile suits some architectural styles but needs stronger framing. A roofing professional can recommend what fits your property.
Can I stay in my home during roof installation?
In most cases, yes. Expect noise and some disruption during working hours, and plan around pets, young children and anyone who works from home.
What happens if it rains during installation?
A careful contractor protects the exposed areas and reschedules work when conditions are poor. Weather delays are normal in Auckland, so it helps to ask how they are handled before you sign.
What paperwork should I get after a new roof is installed?
You should receive the manufacturer’s warranty, your roofer’s workmanship guarantee, care and maintenance guidance and any documentation needed for consented work. Keep everything together for future inspections, insurance and sale.
How do I compare quotes for a new roof?
Ask each contractor to quote the same scope, then compare materials, underlay, flashings, gutters, scaffolding, timelines, guarantees and exclusions, not just the total.
Should I upgrade insulation and ventilation with a new roof?
A new roof is a good time to consider it, since the roof is open and access is easy. Better insulation and ventilation can improve comfort and help reduce condensation problems.